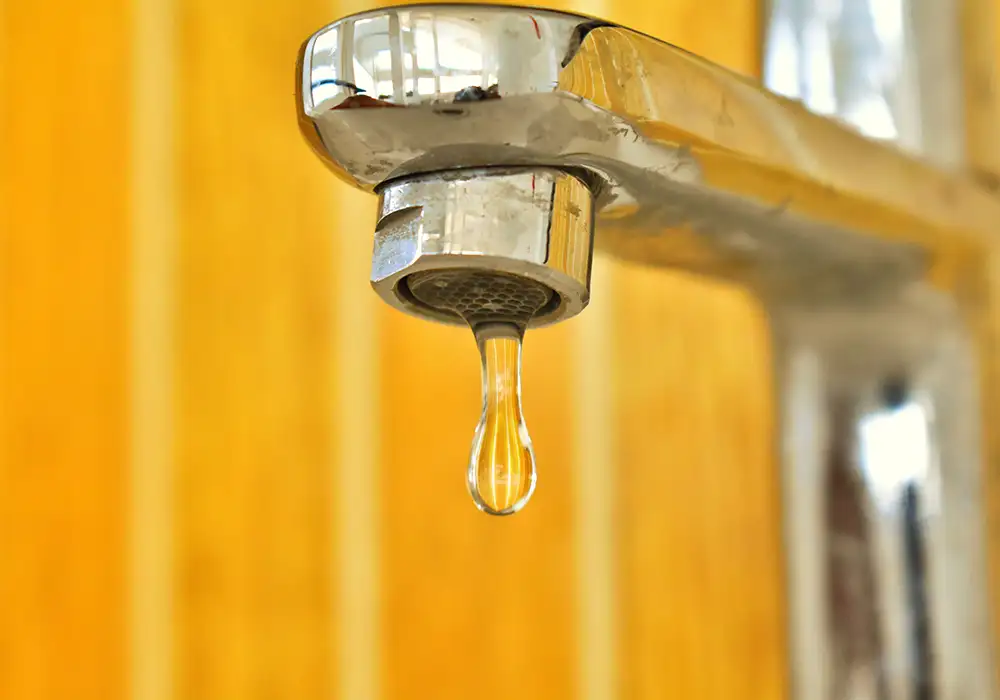
How to fix a dripping tap is a common question for London homeowners, especially when a small leak starts wasting water or becomes more noticeable over time.
The good news is that many dripping taps can be repaired with a few basic tools and the correct replacement part. In traditional taps, the problem is often a worn rubber washer, while many modern mixer taps use a ceramic cartridge.
In this guide, we’ll explain how to identify the cause of a dripping tap, how to replace a worn washer or cartridge, what to check if the tap continues dripping and when it is better to call a professional plumber in London.
Why Is My Tap Dripping?
There are several reasons why a tap may continue to drip after it has been turned off.
Common causes include:
- A worn or damaged rubber washer
- A damaged ceramic cartridge
- Limescale build-up
- A damaged valve seat
- Worn O-rings or seals
- Loose or damaged internal components
According to WaterSafe’s guide to fixing a dripping tap, worn washers, damaged cartridges and limescale are among the common causes of dripping taps.
The type of tap you have will determine which repair is appropriate.
First, Identify What Type of Tap You Have
Before taking your tap apart, look at how it operates.
Traditional Tap With a Washer
If the handle needs several turns to open or close the tap, it is likely to use a traditional washer and valve mechanism.
These taps usually have separate hot and cold handles.
If the tap is dripping from the spout when it is fully closed, the rubber washer may have become worn, cracked or hardened.
Modern Mixer Tap With a Ceramic Cartridge
Many modern mixer taps use a ceramic cartridge instead of a traditional rubber washer.
These taps often have a single lever or handles that turn only about a quarter of a turn.
If the cartridge is damaged or worn, replacing the cartridge may be necessary.
What You’ll Need
Before starting the repair, gather the tools and replacement parts you are likely to need.
Depending on your tap, you may need:
- Adjustable spanner
- Screwdriver
- Replacement washer
- Replacement ceramic cartridge
- Small cloth
- Bucket or bowl
- Torch
- Silicone grease for suitable cartridge O-rings
- Descaling solution if required
The exact replacement part depends on the design and manufacturer of your tap.
If possible, remove the old washer or cartridge first and take it with you when buying the replacement. This can make it much easier to find a matching part.
Before You Start: Turn Off the Water
Never start dismantling a tap while the water supply is still pressurised.
Look underneath the sink for an isolation valve on the pipe supplying the tap.
Turn the isolation valve to the closed position and then open the dripping tap to release any remaining pressure.
If there is no suitable isolation valve, you may need to use the property’s main stopcock.
WaterSafe recommends turning off the water supply before repairing a dripping tap.
Put the plug in the sink or cover the drain opening with a cloth. This helps prevent small screws and components from disappearing down the drain.
How to Fix a Traditional Dripping Tap
If your tap uses a traditional rubber washer, replacing the washer is often a straightforward repair.
Step 1: Remove the Tap Handle
Look for a decorative cap or cover on top of the handle.
This may be marked with a hot or cold symbol.
Carefully remove the cap to reveal the retaining screw underneath.
Remove the screw with the appropriate screwdriver and lift the handle away from the tap.
If the handle is stuck because of limescale, don’t force it aggressively. Gentle movement is safer than damaging the tap body or handle.
Step 2: Remove the Headgear
Once the handle has been removed, you should see the headgear or valve assembly underneath.
Use an adjustable spanner to loosen the retaining nut.
Protect the tap’s finish with a cloth between the spanner and the chrome surface.
Turn the nut anti-clockwise and carefully remove the valve assembly.
Keep the components in the order in which you removed them. This makes reassembly much easier.
Step 3: Inspect the Washer
Look at the bottom of the valve assembly.
You should find a small rubber washer held in position by a screw or retaining nut.
Inspect the washer carefully.
A washer that is cracked, hardened, flattened or damaged is unlikely to form a proper seal.
This is often the reason a traditional tap continues to drip.
Step 4: Replace the Washer
Remove the old washer and replace it with a new washer of the same size and type.
Make sure the new washer sits correctly in its recess.
Do not overtighten the retaining screw or nut because excessive pressure can deform the washer.
Southern Water’s step-by-step tap repair guide also recommends removing the old washer and replacing it with a new one before reassembling the tap.
Step 5: Check the Valve Seat
Before putting everything back together, inspect the valve seat inside the tap body.
The surface should be relatively smooth.
If it is heavily scratched, pitted or damaged, simply replacing the washer may not solve the problem.
In that situation, the valve seat may need specialist attention or the tap may need replacing.
Step 6: Reassemble and Test the Tap
Reinstall the valve assembly and tighten it carefully.
Replace the handle and retaining screw, then put the decorative cap back into position.
Slowly turn the water supply back on.
Open and close the tap several times and check whether the dripping has stopped.
Also check underneath the sink for signs of leakage.
How to Fix a Modern Mixer Tap
If your tap uses a ceramic cartridge, the repair is slightly different.
Instead of replacing a rubber washer, you normally need to remove and replace the cartridge.
Step 1: Isolate the Water Supply
Turn off the relevant isolation valves underneath the sink.
For a mixer tap with both hot and cold supplies, isolate both sides.
Open the tap to release the remaining water pressure.
Step 2: Remove the Handle
Look for a small retaining screw.
Depending on the design, it may be hidden underneath a decorative cap or located on the side of the handle.
Remove the screw and carefully lift the handle away.
Step 3: Remove the Retaining Nut
Once the handle has been removed, you should be able to see the cartridge retaining nut or another retaining mechanism.
Carefully loosen it with an adjustable spanner.
Keep track of the order in which the components are removed.
Step 4: Remove the Old Cartridge
Carefully pull the cartridge out of the tap body.
Before removing it completely, take a photograph of its position.
This can help you install the replacement cartridge in exactly the same orientation.
Step 5: Choose the Correct Replacement
Ceramic cartridges are not necessarily universal.
The replacement needs to match the tap’s design, dimensions and manufacturer where applicable.
If possible, take the old cartridge to a plumbing merchant or use its markings and measurements to identify the correct replacement.
Step 6: Install the New Cartridge
Clean any visible debris or limescale from the inside of the tap body.
If the cartridge uses O-rings, a small amount of suitable silicone grease can help protect the seals during installation.
Insert the new cartridge in the same orientation as the original.
Make sure it is seated correctly before tightening the retaining nut.
Step 7: Reassemble and Test
Replace the retaining nut, handle and any decorative components.
Slowly turn the water supply back on.
Operate the tap several times and then close it completely.
Watch the spout for at least several seconds to make sure the dripping has stopped.
Also check around the base of the tap and underneath the sink for leaks.
What If the Tap Is Still Dripping After Replacing the Washer?
If you’ve replaced the washer but the tap continues to drip, don’t immediately assume that the new washer is faulty.
The problem could be caused by:
- A damaged valve seat
- Incorrect washer size
- Incorrect installation
- Limescale or debris
- A damaged valve
- A problem with another internal component
Check that the replacement washer is the correct size and is sitting flat in its position.
If everything looks correct but the tap continues to drip, the valve seat may need attention.
At this stage, professional assistance may be more appropriate than repeatedly replacing washers.
What If a New Cartridge Doesn’t Stop the Drip?
If a modern mixer tap continues dripping after the cartridge has been replaced, check the following:
- Is the replacement cartridge the correct model?
- Is it installed in the correct orientation?
- Is the cartridge fully seated?
- Are the O-rings damaged?
- Is there limescale or debris inside the tap body?
- Is the tap body itself damaged?
A cartridge that does not match the original correctly may not seal properly.
If you have checked these points and the tap is still leaking, the tap body or another internal component may be damaged.
How Much Water Can a Dripping Tap Waste?
A dripping tap may waste much more water than you might expect if it is left running continuously.
WaterSafe states that a dripping tap can waste more than 5,500 litres of water a year.
WaterSafe’s advice on saving water explains why fixing small household leaks can help reduce unnecessary water waste.
Fixing a dripping tap promptly is therefore not only about stopping an annoying sound. It can also help reduce water waste.
When Should You Call a Plumber?
Not every dripping tap needs professional assistance.
A simple washer replacement may be manageable if you are confident using basic tools and can safely isolate the water supply.
However, it is better to contact a professional if:
- You cannot turn off the water supply
- The isolation valve is seized
- The tap body is damaged
- The valve seat is badly damaged
- The tap continues dripping after a washer replacement
- A replacement cartridge does not solve the problem
- Water is leaking underneath the sink
- You notice water damage around the cabinet
- You are unsure which component needs replacing
- You are uncomfortable carrying out the repair yourself
Homacord services in London can help diagnose and repair persistent tap leaks and other plumbing problems.
How to Prevent a Dripping Tap
You can reduce the chance of future tap problems by carrying out a few simple checks.
Don’t Force the Tap Handle
Avoid applying excessive force when opening or closing a tap.
Forcing the handle can put unnecessary stress on internal components.
Deal With Limescale
Limescale can build up around tap components and affect seals and moving parts.
Regular cleaning can help keep the tap operating smoothly.
Repair Small Leaks Early
Don’t wait until a small drip becomes a major leak.
A minor problem may be easier and cheaper to fix before additional components become damaged.
Know Where Your Stopcock Is
Knowing how to turn off your property’s main water supply can be extremely useful if a tap or pipe suddenly develops a serious leak.
WaterSafe’s advice on finding and using your stop tap recommends knowing where your stop tap is and how to use it.
Dripping Tap in a London Home? Fix It Before It Gets Worse
A dripping tap is often a relatively simple plumbing problem, but leaving it unresolved can waste water and allow a small fault to develop into a larger leak.
Traditional taps commonly use replaceable rubber washers, while many modern mixer taps use ceramic cartridges.
The most important steps are to identify the type of tap, isolate the water supply, use the correct replacement component and test the tap carefully after reassembly.
If the problem continues after a straightforward repair, don’t keep forcing or dismantling the tap. A professional plumber can identify whether the problem is inside the valve, cartridge, tap seat or another part of the plumbing system.
For professional help with a dripping tap or other household plumbing problems, professional plumbing services is available through Homacord.
Need Help With a Dripping Tap in London?
If your tap continues to drip after you’ve tried a basic repair, the underlying problem may require professional attention.
A qualified plumber can inspect the tap, identify the faulty component and recommend the most appropriate repair or replacement.
professional plumbing services provide a direct route to Homacord’s plumbing service for London homes.
If you’re dealing with several maintenance problems around your property rather than a single plumbing issue, Homacord property maintenance services in London may also be useful.
Frequently Asked Questions
Can I fix a dripping tap myself?
Yes, many minor dripping tap problems can be repaired as a DIY job. Traditional taps may only require a replacement washer, while modern mixer taps may require a replacement ceramic cartridge.
Why is my tap still dripping after replacing the washer?
The problem could be caused by an incorrect washer, poor installation, limescale, a damaged valve seat or another internal fault.
How do I know if my tap needs a cartridge?
If you have a modern mixer tap with a single lever or quarter-turn mechanism, it is likely to use a ceramic cartridge rather than a traditional rubber washer.
Do I need to turn off the mains water to change a tap washer?
Not necessarily. If your tap has working isolation valves underneath the sink, you may be able to isolate the relevant water supply there. If there are no suitable isolation valves, you may need to use the property’s main stopcock.
How much water does a dripping tap waste?
WaterSafe states that a dripping tap can waste more than 5,500 litres of water a year.
WaterSafe’s information about dripping taps and water waste provides further guidance.
Should I replace the whole tap or just the washer?
If the tap body and valve are in good condition, replacing the washer may be enough. If the valve seat, body or other components are badly damaged, replacing the tap may be a more practical option.
When should I call a plumber for a dripping tap?
If you cannot isolate the water, the tap is badly damaged, the repair does not stop the drip or water is leaking somewhere other than the spout, professional help is recommended.
Plumbing Services London can be used to access Homacord’s plumbing service.